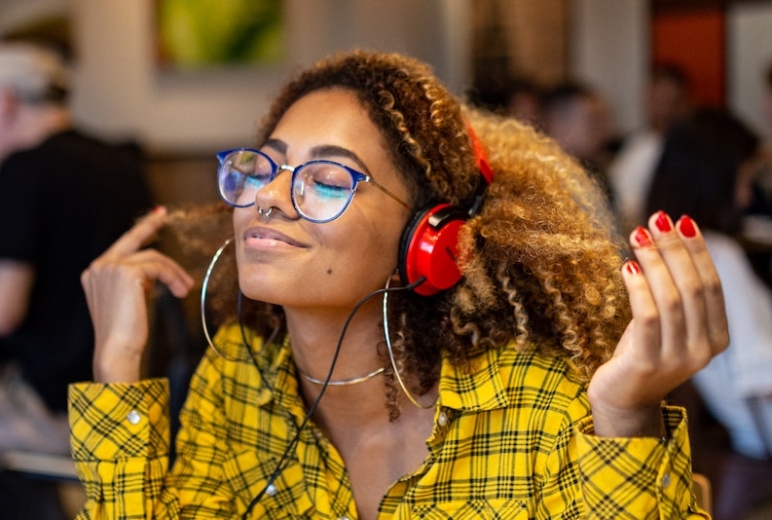
How to record VOIP for podcasts and interviews
You are here because you record (or are planning to record) a podcast which includes co-hosts and guests that are in long distance remote locations. But you are unsure of which method is the best way to capture each person in the best quality?
In this article we’ll demonstrate how MicDropp can provide an unrivalled, flexible solution to deliver you exactly what you need - and you don't even need to download any software.
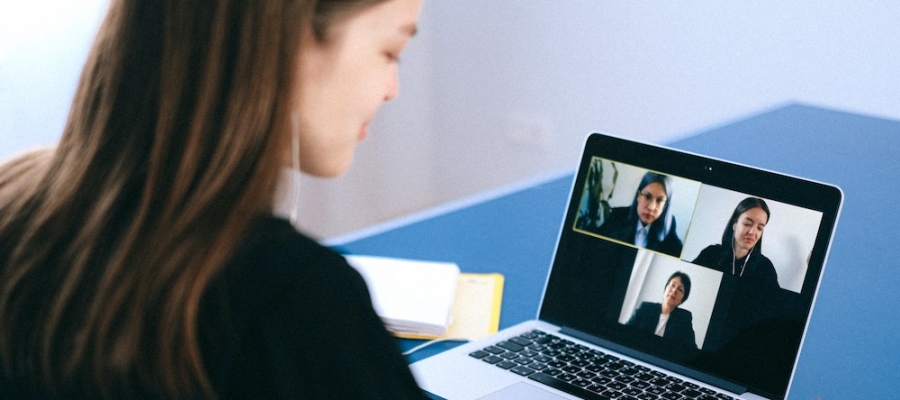
If you’re looking to record remotely, the first dilemma you’ll need to decide on is how to communicate? You have a lot of choices (which include, but are not limited to): Zoom, Teams, Skype, Google Meet or the humble cellphone/telephone.
Cloud is not best
The typical way to record a VOIP/Telephone call is to capture the audio in the cloud. Here lies a potential problem. The recorded quality depends on the internet connection speed and integrity of all the participants.
If anything happens, the drop outs and jitter are recorded on the final file in the cloud. This audio may then be unusable. In our opinion this method should only be used as a back up and is certainly not a great way to deliver broadcast quality recorded audio.
Local recording is better
As MicDropp is a local recorder that uploads to the cloud AFTER it has recorded, it takes away the stress of worrying about everybody’s connection and delivers great audio quality every time. AND as it records individual streams, it gives you greater flexibility in your edit - every contributor is a clean recording, allowing you to cut out or mute when someone talks over somebody else.
So, how do you team up MicDropp with a live platform like Google Meet or Zoom?
That’s easy, the information below is the same for any VOIP or telephone recording system.
The MicDropp process
Firstly, sign into your MicDropp account and connect your Dropbox. (Make sure you have enough storage)
Create a session and tweak your settings (including the quality) - clicking ‘Prompt for name’, ‘Auto Download’ and Auto Upload’. (This will upload the file automatically when you press stop - as well as download a local copy to them, in case anything goes wrong).
Send the session link out to all your contributors - yes, as many as you need to!
When it’s time to do your podcast, ask you contributors to connect to your preferred VOIP/Telephone method of choice. Make sure that they all wearing headphones - this stops MicDropp from recording any other contributor's audio.
Once connected, instruct them to click the MicDropp link - choosing either the Chrome version on a laptop/desktop (in a separate tab to your VOIP) or the MicDropp mobile app.
When you’re ready, ask all to hit record on MicDropp - wait for the ‘Go!’, give it a breath and off you go!
When you’re all finished - press stop. You’ll be asked to name the file and the upload will start automatically.
You’ll now find all the files in your MicDropp account and in your Dropbox.
See, we told you it was easy!
* Tip: make sure you always test recording and upload before your session to get participants familiar with our simple app.
Hit record now
As you can see, using MicDropp to record isolated recordings with a VOIP or telephone/cellphone is an easy and reliable method of receiving broadcast quality audio for your podcasts and interviews.
If you want to explore further techniques and hardware solutions that enhance the audio even more, read our article here on Recording Better Quality Audio On Your Smartphone.
MicDropp starts from free and takes seconds to sign up. You just need an email address and password. To unlock the full potential of MicDropp upgrade to Professional & Professional Plus.
Join MicDropp today and start recording better quality audio for your podcasts and interviews. Sign up here.